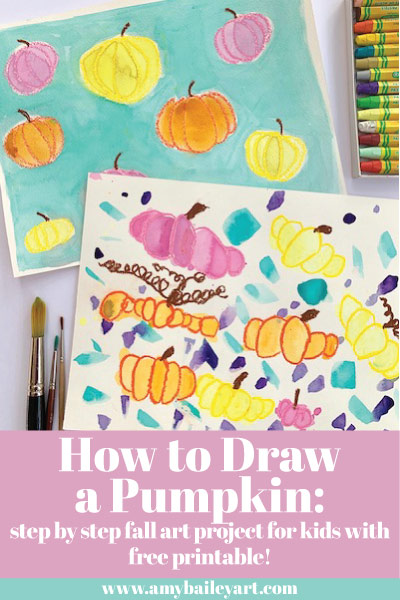
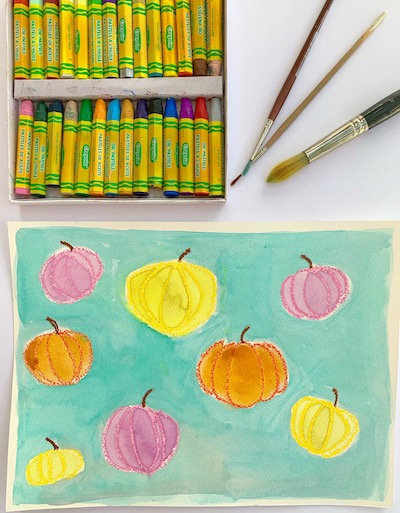
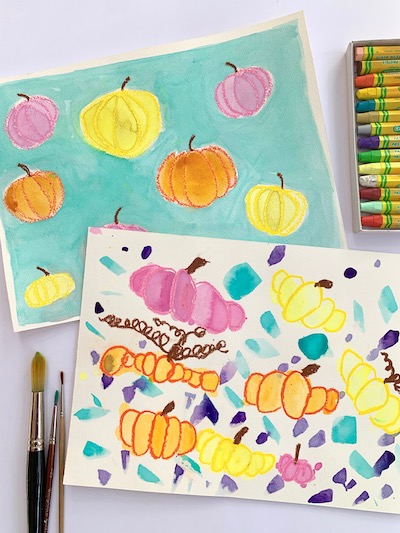
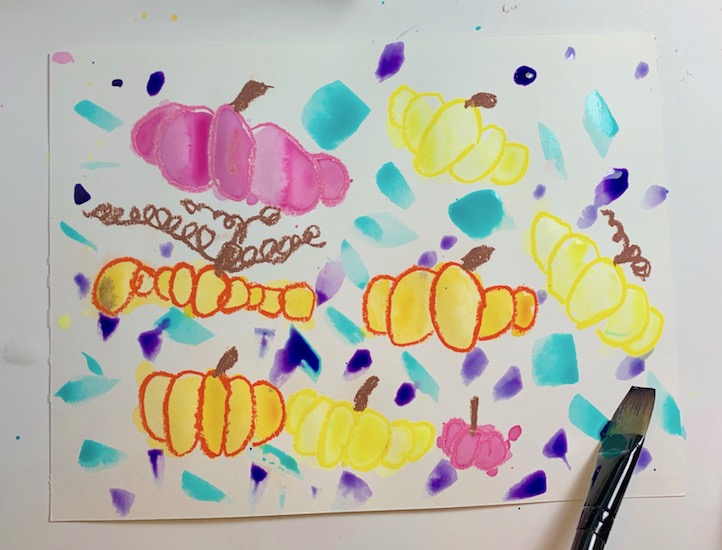
Some people might believe that pumpkins are an overused fall motif, but I challenge that belief with this adorable pastel + watercolor artwork by my daughter below. I’m her mom, so I’m partial but… COME ON! She took my how to draw a pumpkin project prompt and made it her own. Children’s creativity and ability to embrace play is such a gift.
This is a great project for the youngest kiddos because it is simple and easy. Most can master the form of a pumpkin easily, making it a big confidence booster. I’m including the “How to Draw a Pumpkin” guide for you to download below.
Supplies for How to Draw a Pumpkin: Pastel and Watercolor Art Project
- watercolor paper (scroll down a bit on the linked page to find purchasing options)
- pastels
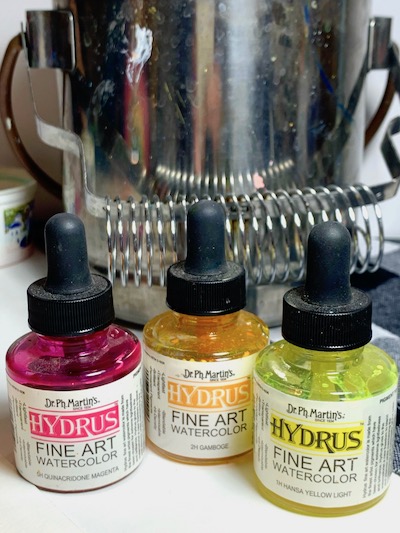
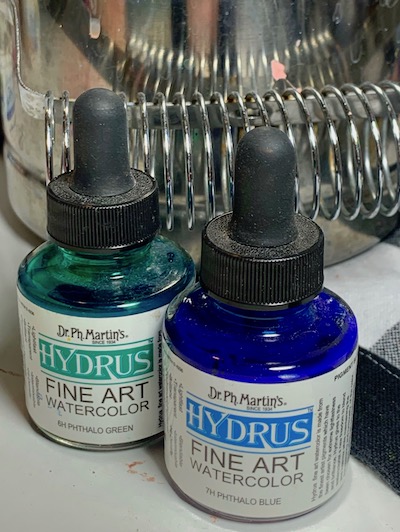
- I used these liquid watercolors that I have on hand for my own work. I’m a huge fan and though this project takes only a few drops, they are on the pricier side. Here is an affordable liquid watercolor I would purchase for children’s use. If you don’t want to purchase liquid watercolors the ones listed next are a great option.
- watercolor paint (+ brush)
- water (I use glass jars)
- color wheel (optional)
- sharpie (optional)
- Printable “How to Draw Pumpkin” guide
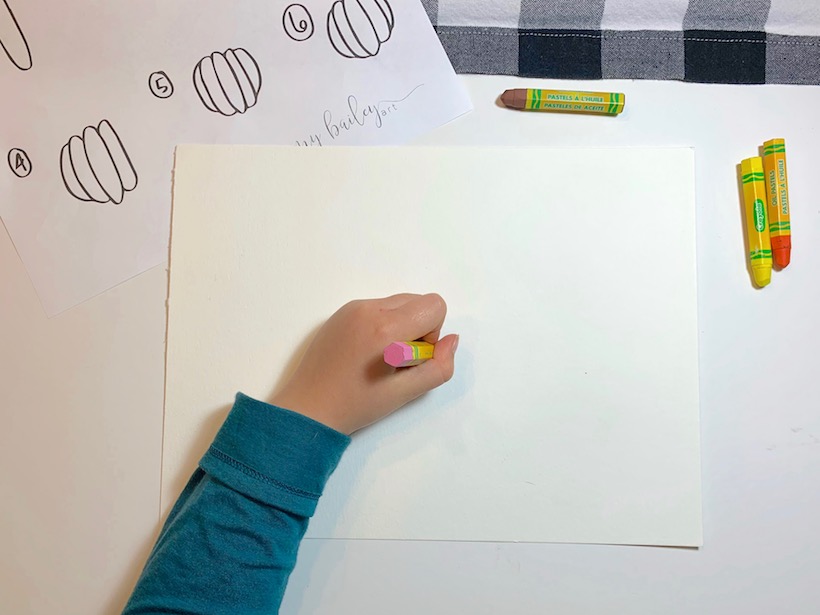
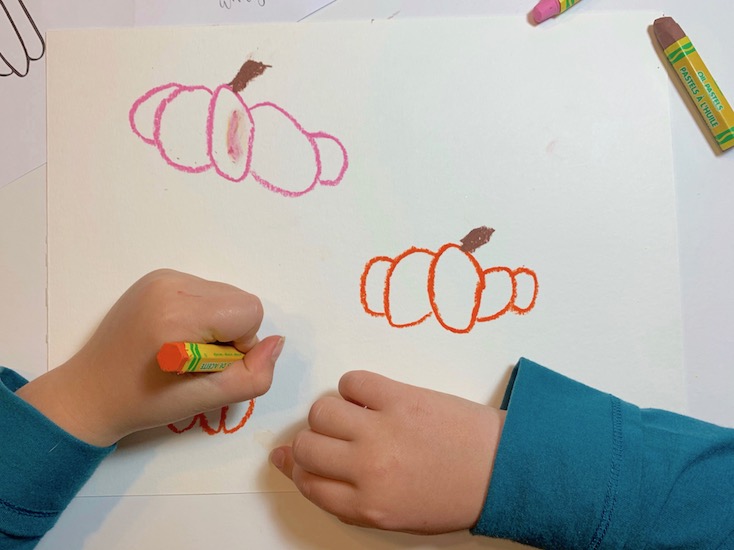
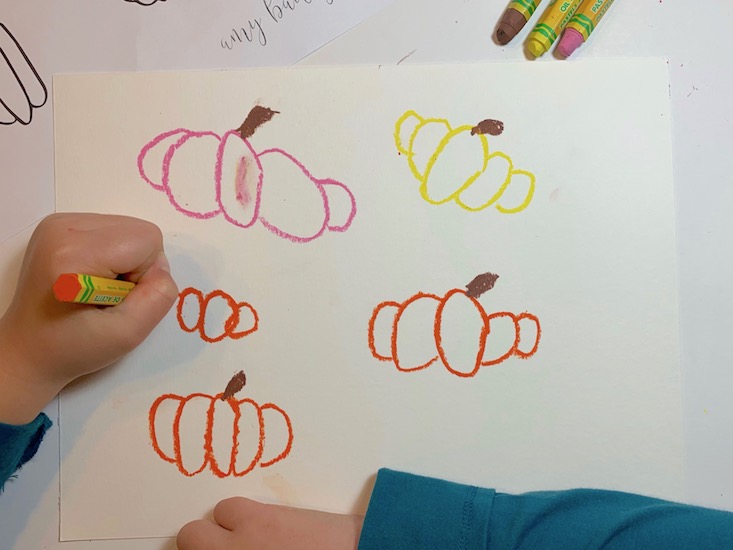
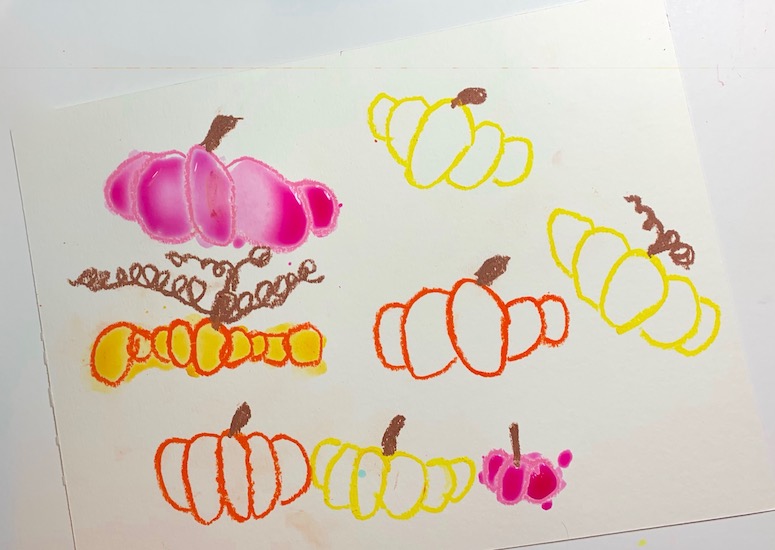
To begin, I set out the brown, orange, pink and yellow pastels.
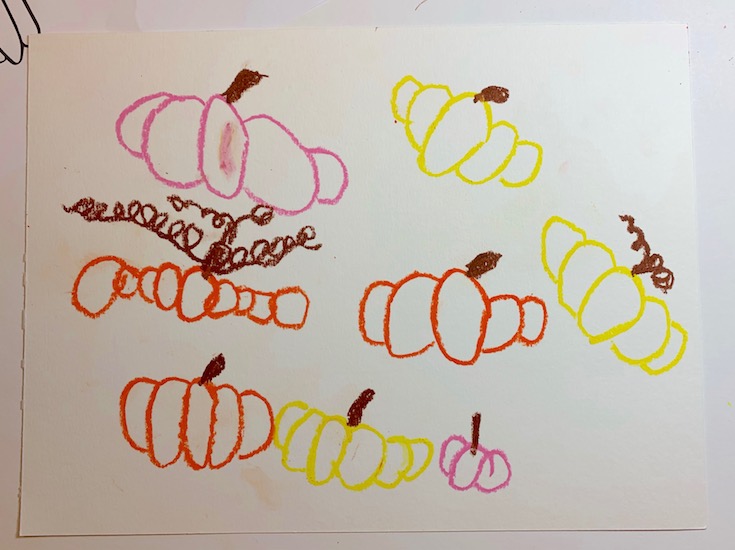
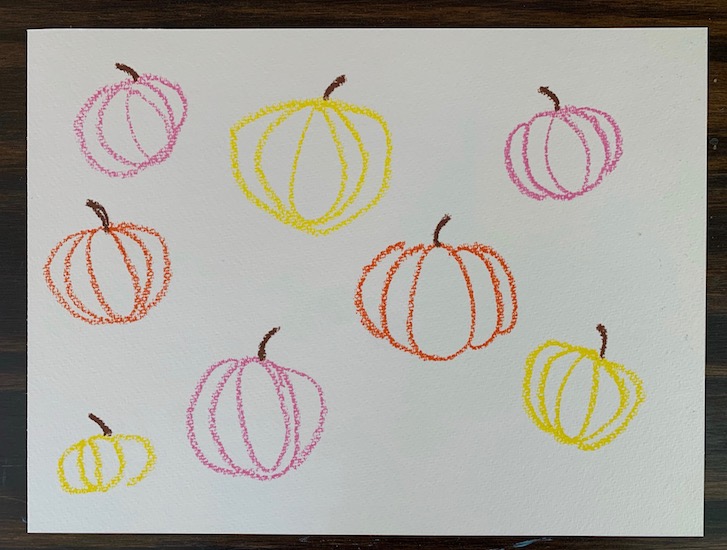
I let her choose which pastels to use where. You can use the guide pdf, or a pumpkin you have at home or a photo you have of a pumpkin as a reference, whatever you prefer! This is a good spot to drop some “Elements of Art” talk in naturally. You can see that joining lines and shapes together create the form, in this case the form is the pumpkin.
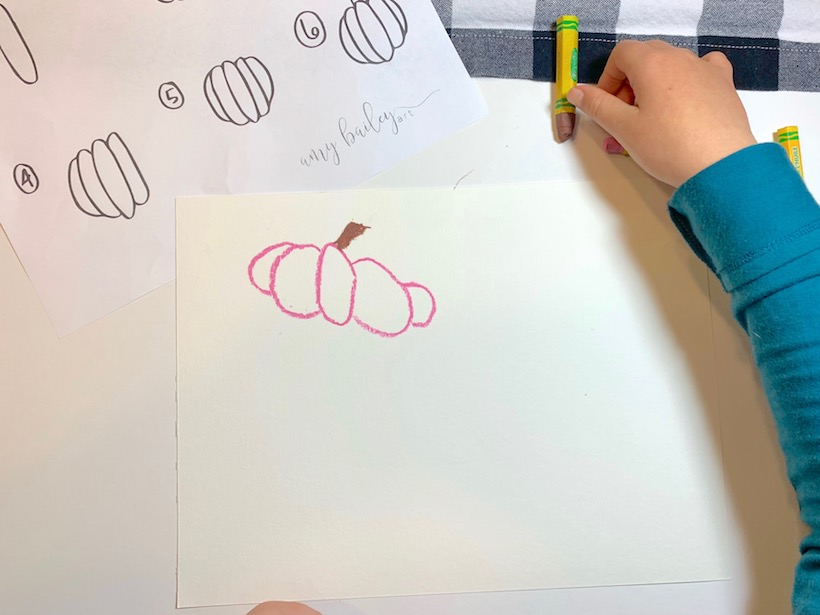
I try to direct kids to start in the corner opposite of their dominate hand. It is helpful with smudge prone media like oil pastel. It keeps them from dragging their hand over their drawing.
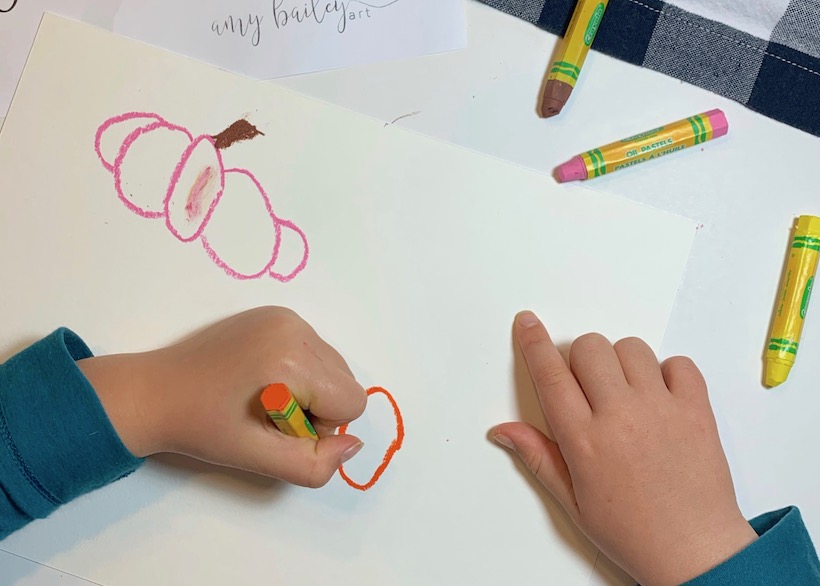
Most importantly, try to remember to encourage your child to make independent decisions for their work and exercise their creative freedom.
Continue drawing until the space (paper) is full and they like the composition they have created. This is a good spot to talk about the element of space. Filling the page is a good use of space.
Now it’s time to paint.
I linked these liquid watercolors above along with a more affordable options. Liquid watercolors are highly pigmented and a small drop goes a long way! They are really nice from a time and clean up perspective. It’s much easier for kids because they do not have to do any mixing. I like to use them at our house from time to time for a change up.
I put the colors in two groups as pictured above and asked her what she noticed. She immediately said “warm and cool colors!”. Probably because we had created this “How to Draw Leaves: Fall Watercolor Painting” project the week before.
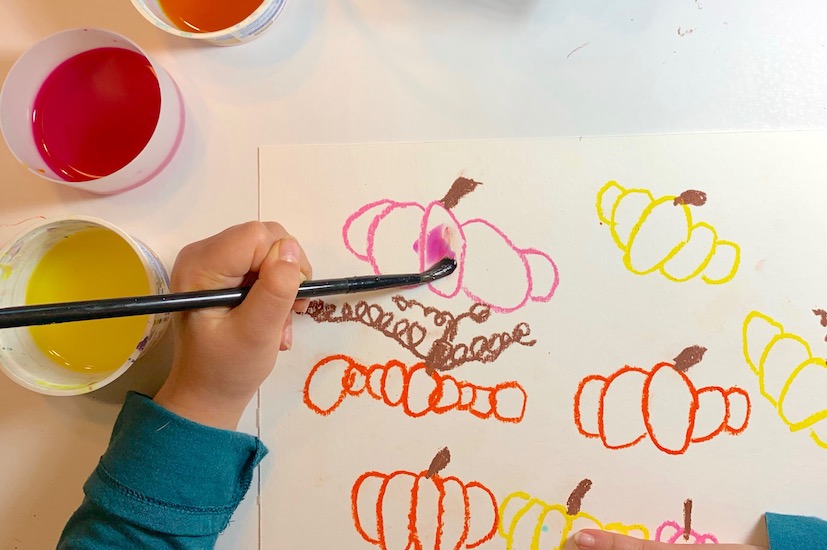
Next, she filled each pumpkin with their color of paint. If your child feels the urge to mix it up and paint all different colors, I support them 100 percent.
Once all the pumpkins were painted, we let them dry.
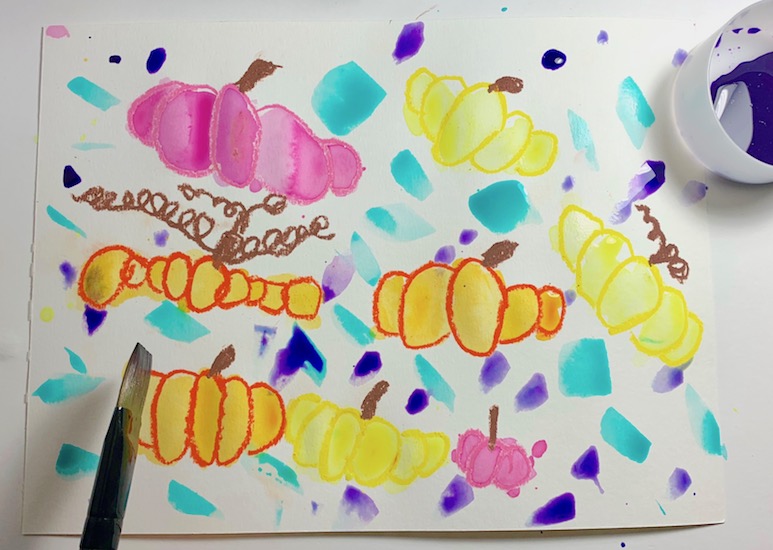
I told her we were going to paint the background with a cool color to help create balance (principle of art). She said she had a great idea and needed purple as well so I let her mix a drop of blue into the pink she used for the pink pumpkins.
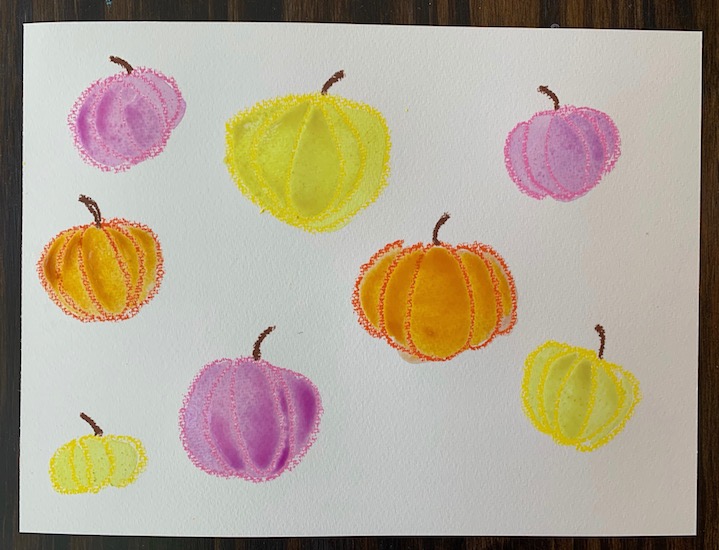
After letting the pumpkins dry, we began to work on the background.
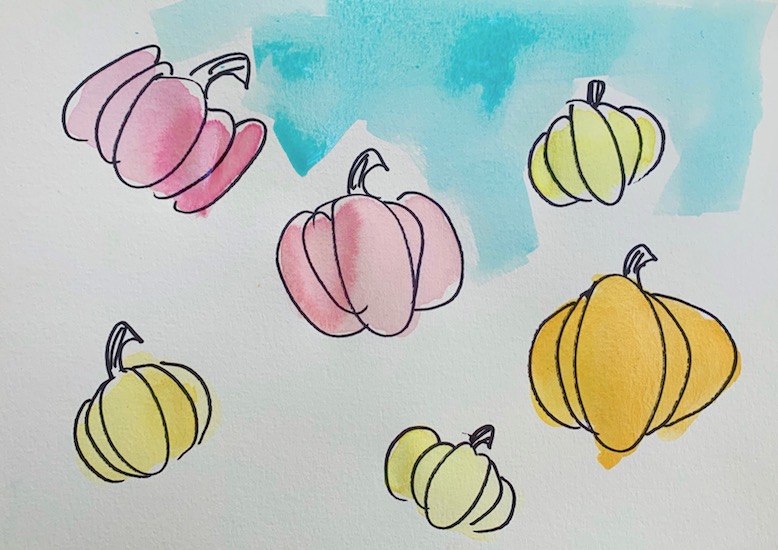
Here you can see that I chose a plain light blue wash.
And, my daughter made it a pumpkin party with multi-cool-colored confetti. So fun!
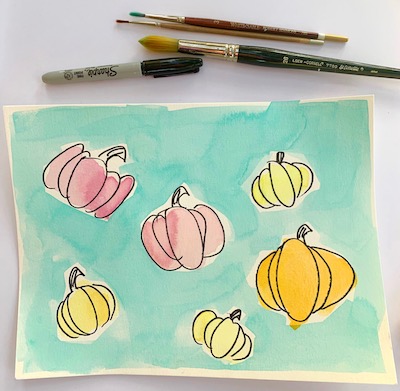
I also created a sharpie version if you would like to try that out. Just replace “oil pastel” with “Sharpie” in all the instructions.
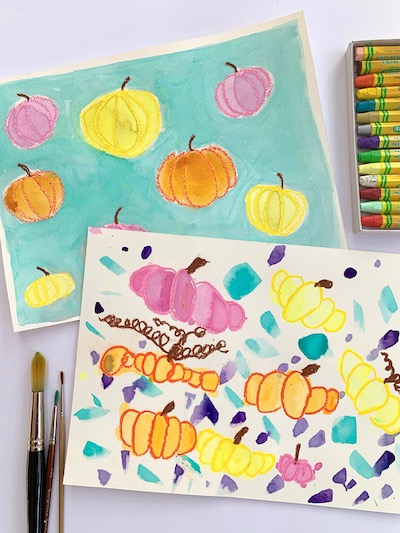
Let your finished “How to Draw a Pumpkin: Fall watercolor painting” masterpiece dry!
I hope you enjoyed this art project! We’d LOVE to see YOUR beautiful artwork! Tag me on social media and use the hashtag #amybaileyart or comment below to let me know how it went!
(This post may contain some affiliate links, but all opinions are my own. Any compensation I may receive helps with expenses to keep this blog up and running! Thank you for your support!)
