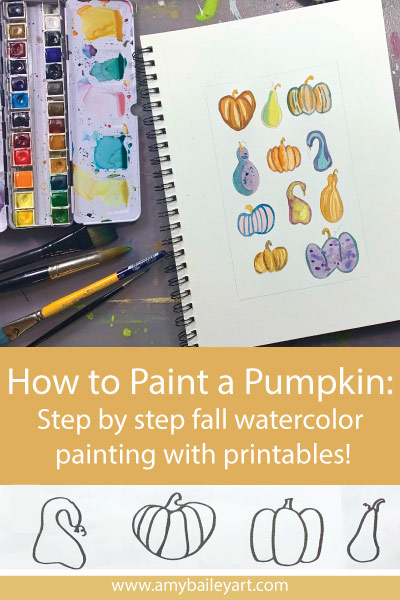
It’s the time of year where placing pumpkins in and around your home passes for decorating and I’m on board. This year we got one aesthetically pleasing one to carve, a few minis to paint, and several of the most funky shaped, gnarly and twisted gourds just for fun. I find them the most fun to draw or paint! These festive fruits inspired me to create this How to Paint a Pumpkin Watercolor Tutorial for you! (And, yes, I had to reference the internet to be sure pumpkins are fruits.)
If you are looking for a pumpkin inspired activity for your younger kiddos check out this “How to Draw a Pumpkin Art Project for Kids”. I’m linking a drawing guide below, but I want to encourage you to be as creative as you would like to be! One wonderful thing about pumpkins and gourds is they contain very simple organic shapes which make them easy to draw.
Organic shapes means not geometric which means they can’t as easily be “off”! Perfect for embracing letting go and letting your creative brain take over. Have fun!
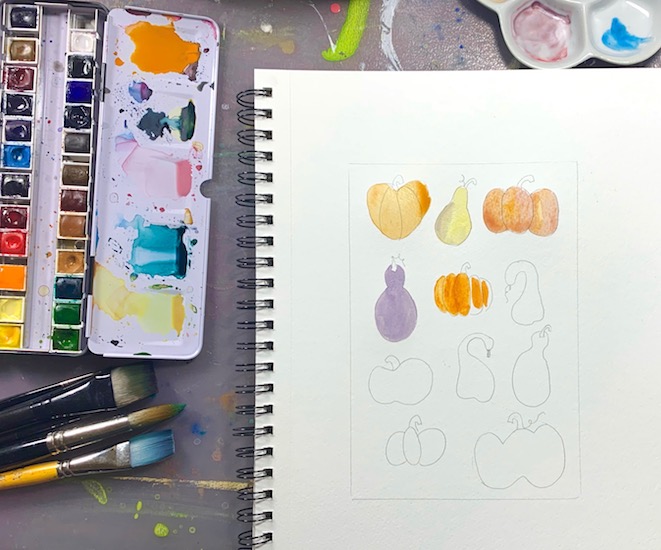
The first step as always is gather your supplies. I’m linking all of mine below. The links take you to a product page, just scroll down a bit to find the purchasing options.
Supplies for How to Paint a Pumpkin: Watercolor Tutorial
- Watercolors – I’ve linked the watercolor set I use most often and is pictured in these photos. This Winsor & Newton ½ Pan Case, Set of 24 is professional grade pigment, has all the essential colors and is portable. It’s convenient with no set up and travels well. If you are not looking for that kind of investment right now, I recommend Winsor & Newton’s cotman series, a student grade quality pigment at a $20 price point. Love it!
- Brushes – I used a round brush size 6, 3, and 1, and a Flat Wash, Size 3/4.
- Painting surface – I used this Canson Artist Series Watercolor sketchbook. Strathmore Ready Cut Watercolor Sheets are a loose paper I like to keep on hand for fun projects like this as well.
- Extra mixing palette – I usually need extra space for mixing. Porcelain palettes are nice because paints stay moist longer, colors appear true, and clean up is quick and easy. But, I also have some plastic palettes that I use often and love to have for when my little one wants to share.
- Water – I like to have two jars, using one for cleaning warm colors and the other for cleaning cool colors from my brush. This makes the water muddy at a slower pace!
- Paint rag or towel
- Pencil – This is needed for sketching the underdrawing. You can use any pencils you have, but I linked a quality, affordable drawing pencil set. I like to use a very hard lead (usually 4H or 6H) so there is less graphite that could mix with your paint.
- Printable Pumpkin Guide – I created for this tutorial. (just click to open and print)
Once you have gathered your supplies, it’s time to begin How to Paint a Pumpkin: Watercolor Tutorial.
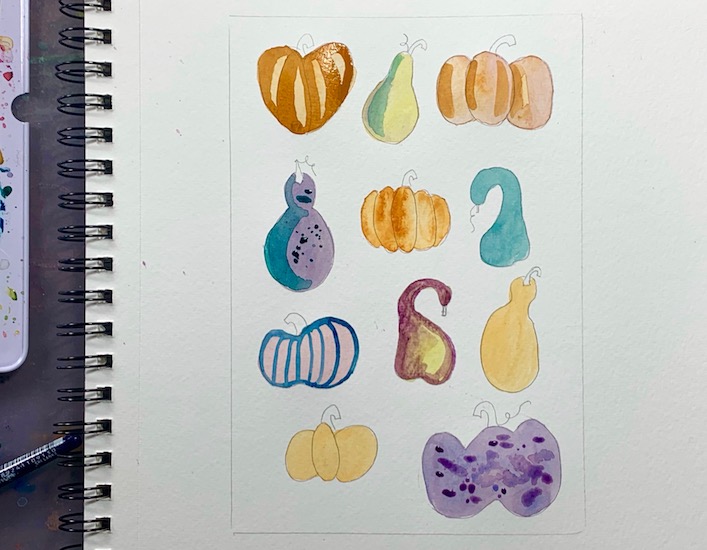
Begin by lightly draw a simple outline in whatever arrangement you would like. I recommend using up your space and mixing the distribution of various kinds to create some variety in your composition. Remember, you will add detail later with paint so keep your drawing simple.
Note: Most people tape their watercolor paper down to stretch and prevent buckling, but I find this unnecessary for pieces that will be finished in one sitting.
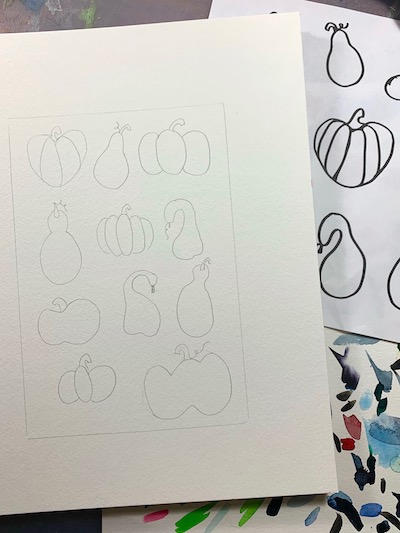
For this composition, I arranged them in pretty symmetrical columns, but it would also be fun to mix it up. You can let your creativity flow!
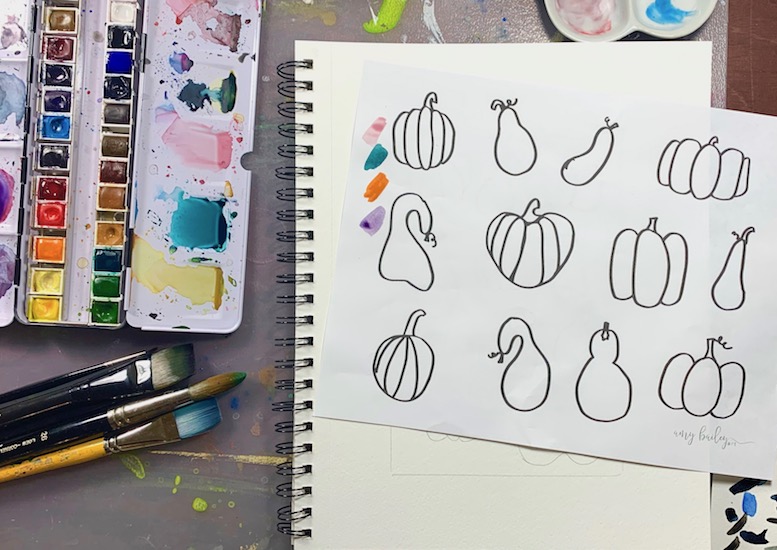
Before I begin painting, I like to make a sample color palette (see photo above).
I find it helps my painting to be cohesive. I tend to go a little crazy with color, so having this as a guide gives me a flexible plan.
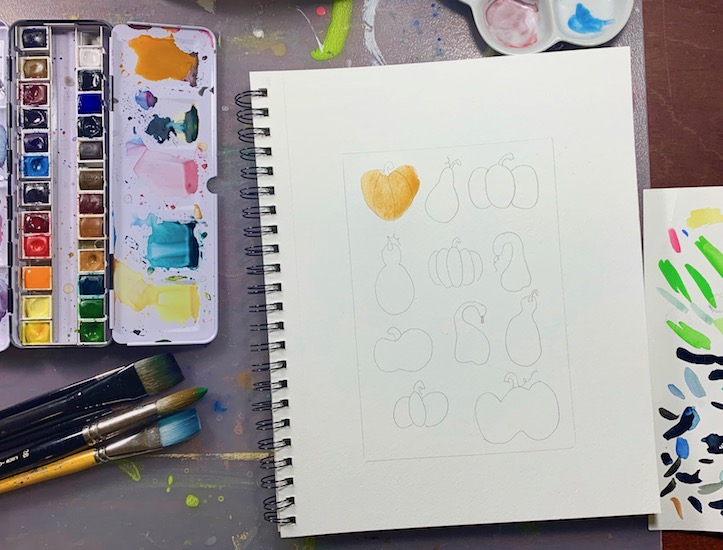
Now let’s begin painting!
Remember that darker colors will quickly over power lighter colors, so try to work from light to dark if possible.
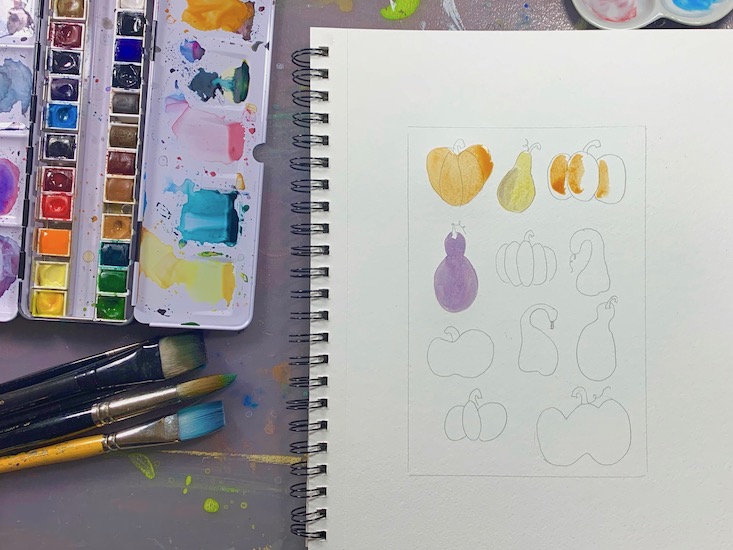
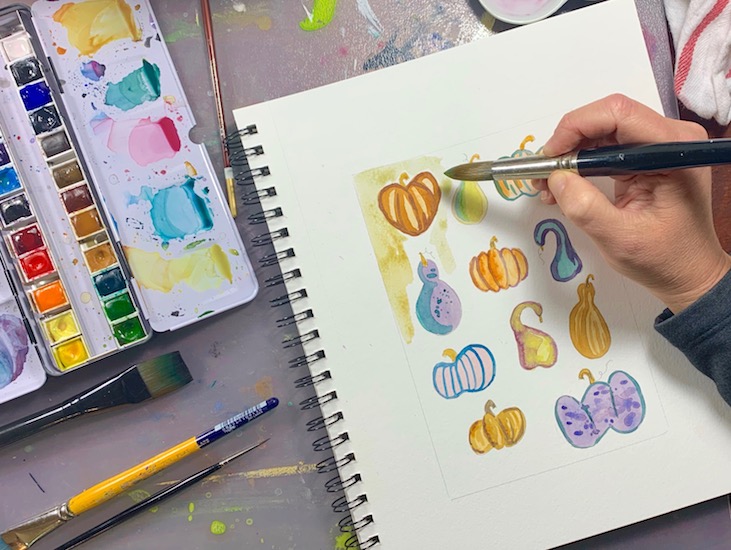
For the first layer, I created a light wash. You can use your paint rag to pick up darker colors while they are still wet if you would like to rework something.
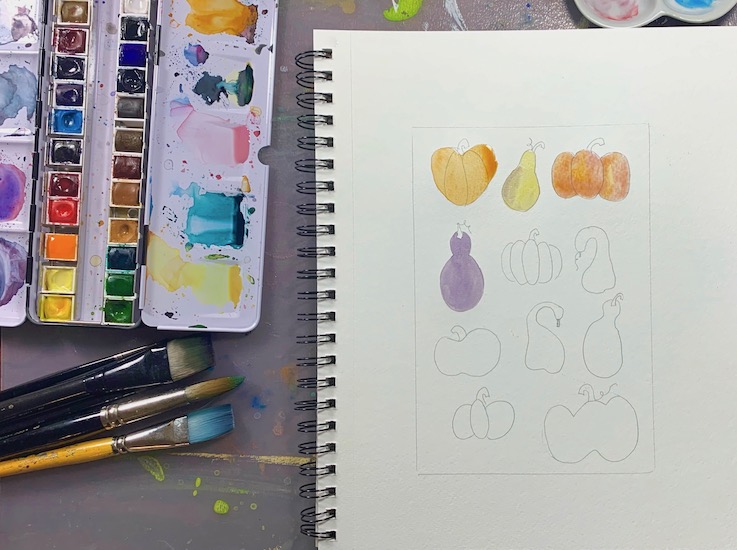
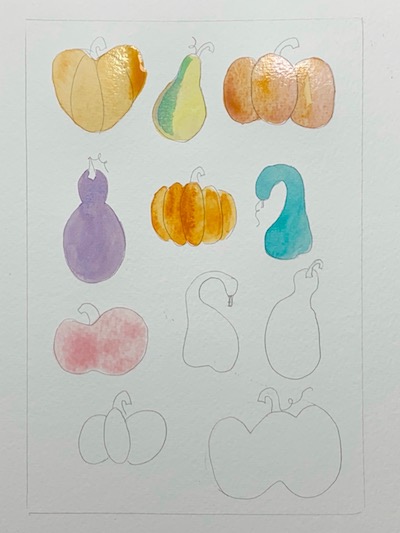
I like to do a light base layer and let it dry. I use the wet in wet technique to blend two colors on several of the pumpkins. This project details the wet in wet technique if you need a refresher.
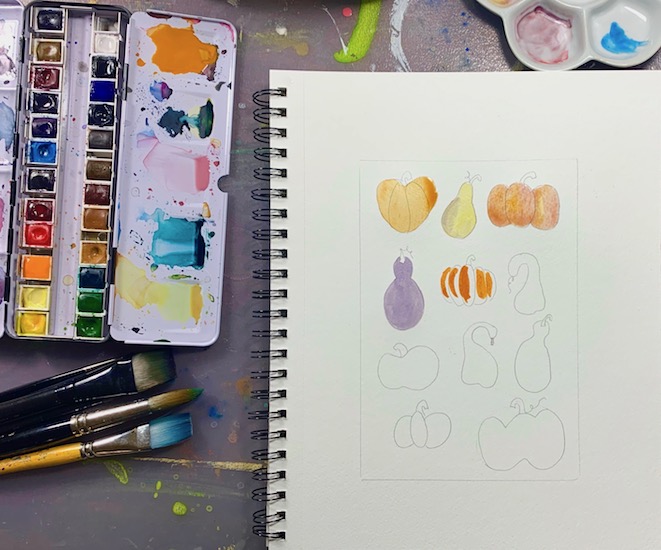
Once your pumpkins are colored in, let your first layer dry. Many people use a hair dryer to speed this process along, but I usually have several projects going on at once so I just distract myself painting something else while I wait.

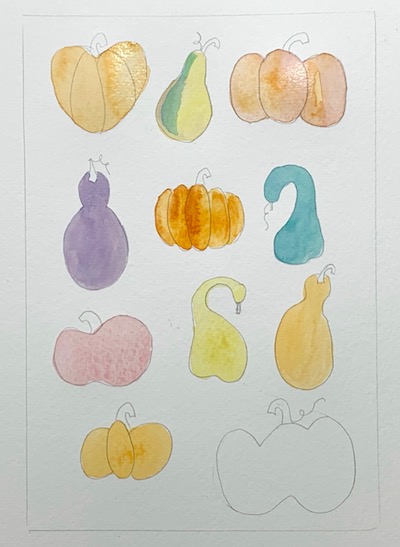
After the first layer dried, I went in with the smaller round brush around the edges and lines of the pumpkins and gourds with more colors.
Feel free to play around with the paint.
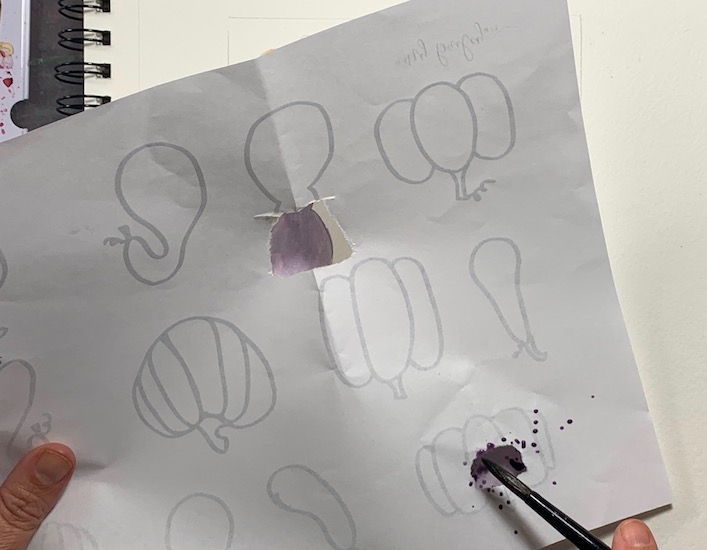
Here is an example of splatter painting. I just made a small hole in the “How to Paint a Pumpkin” printable to create a shield for the painting and tapped a paintbrush full of paint over the hole.
Have fun and be creative with your mark making. Experimenting with different lines and brushstrokes creates texture and interest. Once the pumpkins are complete, let them dry.
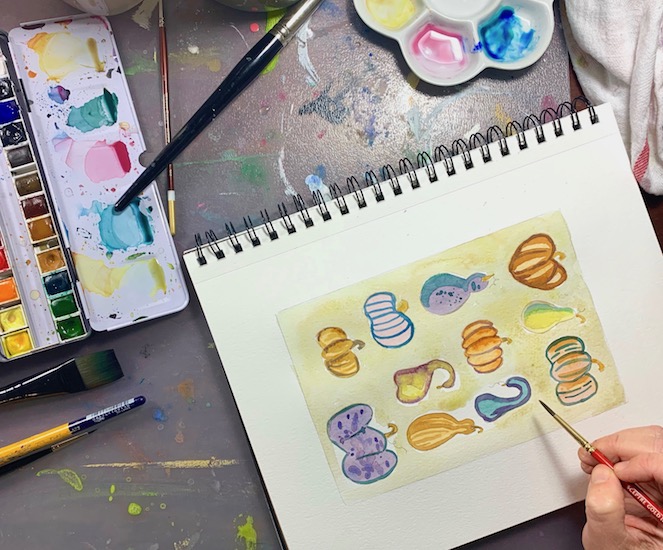
After that’s dry you can get your background layer done. I used the larger flat brush for the very edges and a larger round to fill in larger spaces. Then I went in with a smaller round brush around the edges of the pumpkins. Let the background dry. Again, you could use a hair dryer to speed the drying process if you would like.
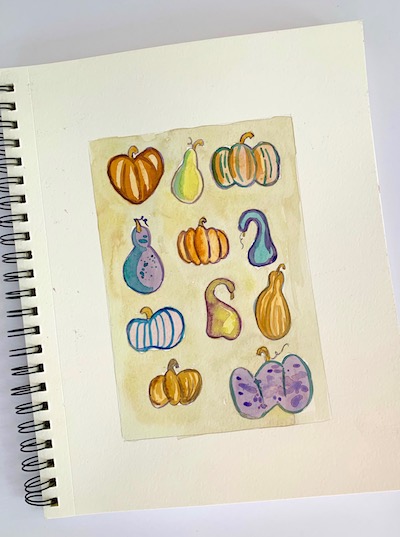
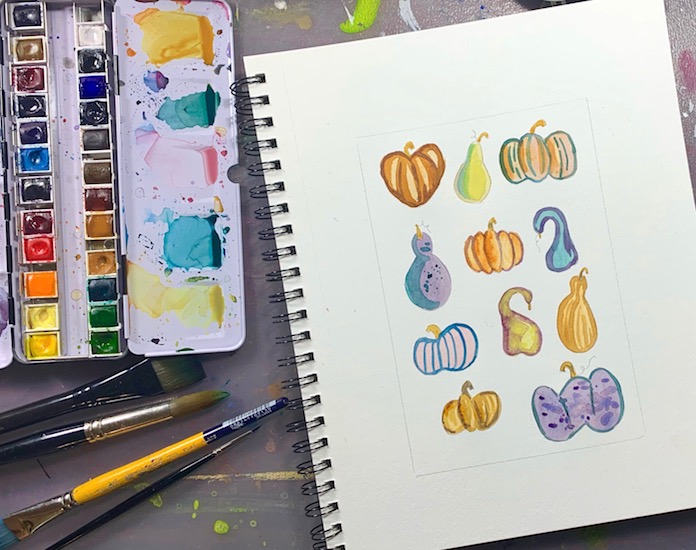
When you are finished, admire your work! Hooray for fall! You could use this to create some festive artwork for your wall or mantel, to gift to your holiday hostess or put on cards to mail to people for which you are grateful.
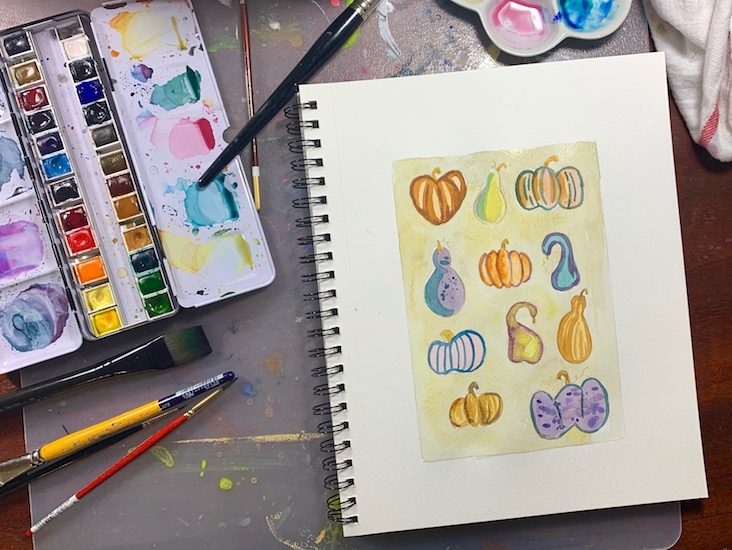
I hope you found this “How to Paint a Pumpkin” watercolor tutorial easy to use and enjoyed some therapeutic watercolor play! I’d LOVE to see YOUR work! Tag me on social media and use the hashtag #amybaileyart or comment below to let me know how it went! As always, thank you for being here!
(This post may contain some affiliate links, but all opinions are my own. Any compensation I may receive helps with expenses to keep this blog up and running! Thank you for your support!)
