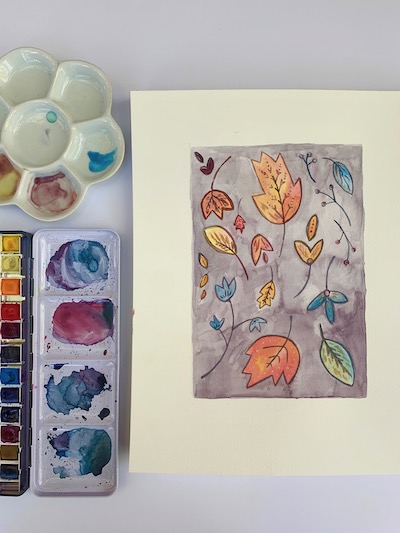
Maybe you’re coming to this tutorial on how to paint fall leaves as a total watercolor rockstar. Or, perhaps you haven’t picked up your brushes in a while. Even if you’re picking up a brush for the very first time, you are in the right place. I like to describe watercolor as the great equalizer of paint mediums.
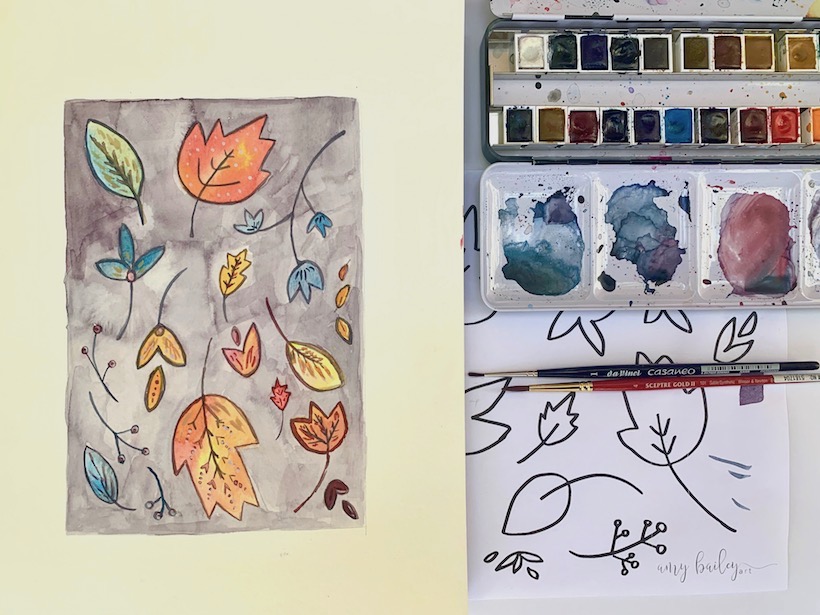
Although I once reviled this medium, watercolors have become a favorite in the past few years. I used mostly oils for all of my painting in school with the exception of one elective watercolor class my senior year. It was not love at first brushstroke. Instead, I was incredulous at the difficulty I experienced trying to control the paint. In the end this lack of control is what I have come to appreciate most (insert lengthy, thoughtful life parallel here).
All of this to say, as we start this “how to paint fall leaves” watercolor play session, my best advice is to give up controlling the paint before we begin.
(This post may contain some affiliate links, but all opinions are my own. Any compensation I may receive helps with expenses to keep this blog up and running! Thank you for your support!)
The first step as always is gather your supplies. I’m linking all of mine below. The links take you to a product page, just scroll down a bit to find the purchasing options.
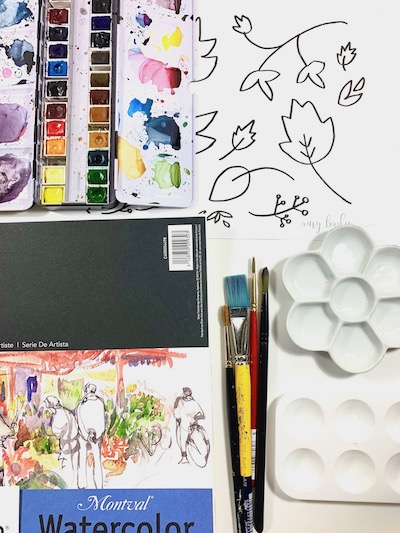
Supplies for How to Paint Fall leaves Watercolor Tutorial:
- Watercolors – I’ve linked the watercolor set I use most often and is pictured in these photos. This Winsor & Newton ½ Pan Case, Set of 24 is professional grade pigment, has all the essential colors and is portable. It’s convenient with no set up and travels well. If you are not looking for that kind of investment right now, I recommend Winsor & Newton’s cotman series, a high quality student grade pigment at a $20 price point.
- Brushes – I used a round brush size 6, 3, and 1, and a Flat Wash, Size 3/4
- Painting surface – I used this Canson Artist Series Watercolor sketchbook. Strathmore Ready Cut Watercolor Sheets are a loose paper I like to keep on hand for fun projects like this as well.
- Extra mixing palette – I usually need extra space for mixing. Porcelain palettes are nice because paints stay moist longer, colors appear true, and clean up is quick and easy. But, I also have some plastic palettes that I use often and love to have for when my little one wants to share. (There’s a fall leaf project I created just for little ones here!)
- Water – I like to have two jars, using one for cleaning warm colors and the other for cleaning cool colors from my brush. This makes the water muddy at a slower pace!
- Paint rag or towel
- Pencil – This is needed for sketching the underdrawing. You can use any pencils you have, but I linked a quality, affordable drawing pencil set. I like to use a very hard lead (usually 4H or 6H) so there is less graphite that could mix with your paint.
- Printable Leaf pdf guide I created for this tutorial. (just click to open and print)
Once you have your supplies gathered and set up, it’s time to begin!
Lightly draw a simple outline of the leaves in whatever way you would like. I recommend using up your space and mixing the distribution of larger and smaller leaves to create a pleasing composition. Remember, you will add detail later with paint so keep your drawing simple.
Note: Most people tape their watercolor paper down to stretch and prevent buckling, but I find this unnecessary for pieces that will be finished in one sitting.
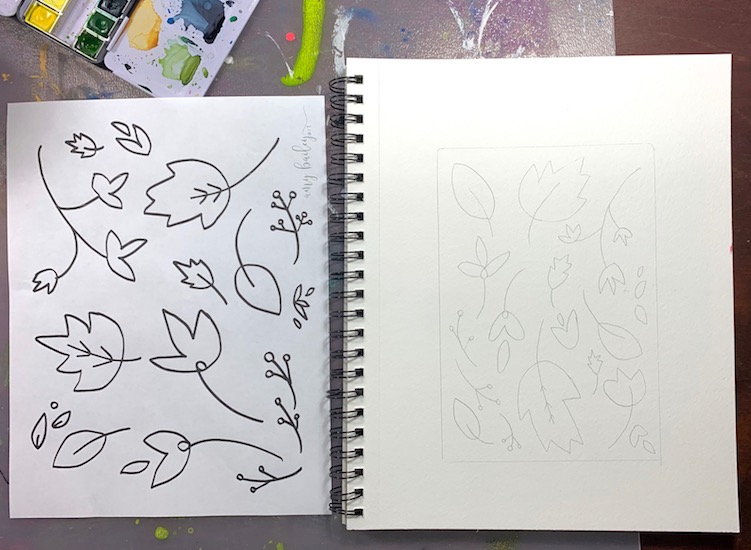
Feel free to switch up your design and make it your own. If you don’t feel you have creative confidence, don’t worry! It will come with practice, making mistakes and experiencing successes along the way.
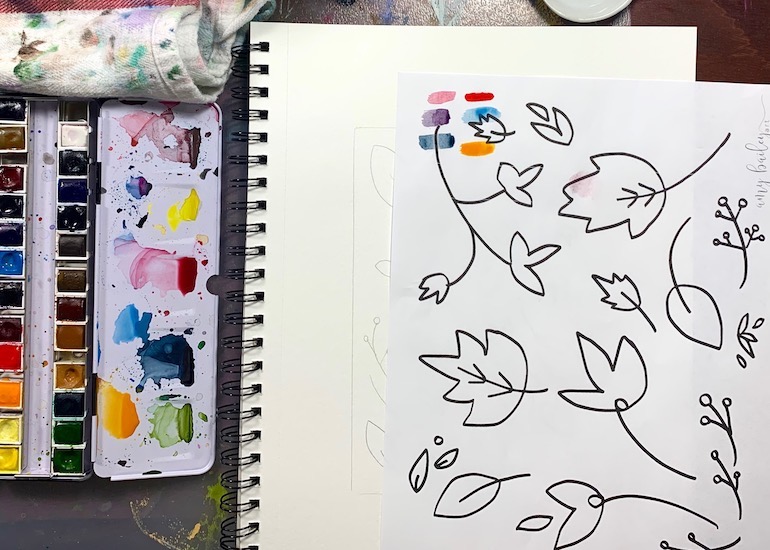
Before I begin painting, I like to make a sample color palette. This is totally optional, but I find it helps my painting to be cohesive. I love color so I can go a little crazy. Having this as a guide gives me a flexible plan.
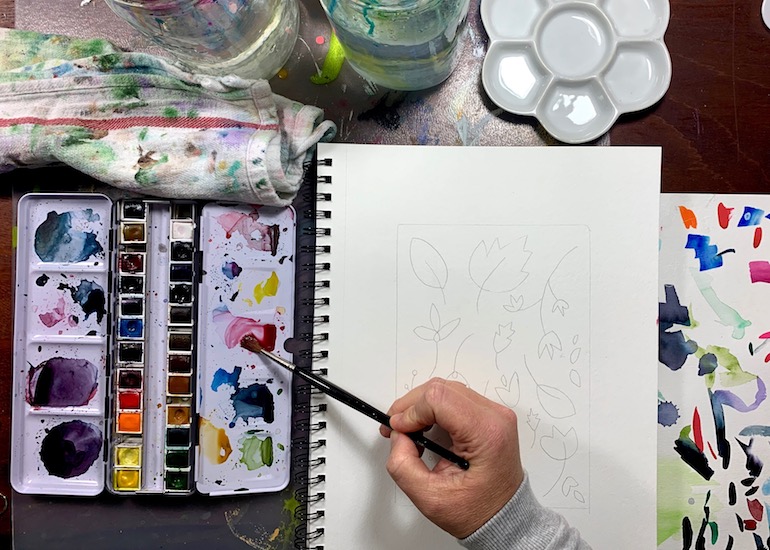
Now, let’s paint! I wanted the majority of leaves to be mostly warm colors to give it that fall aesthetic and feel.
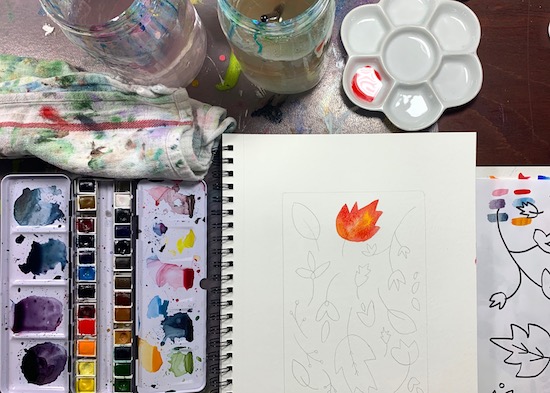
Remember that darker colors will quickly over power lighter colors, so working from light to dark in watercolor is always helpful.
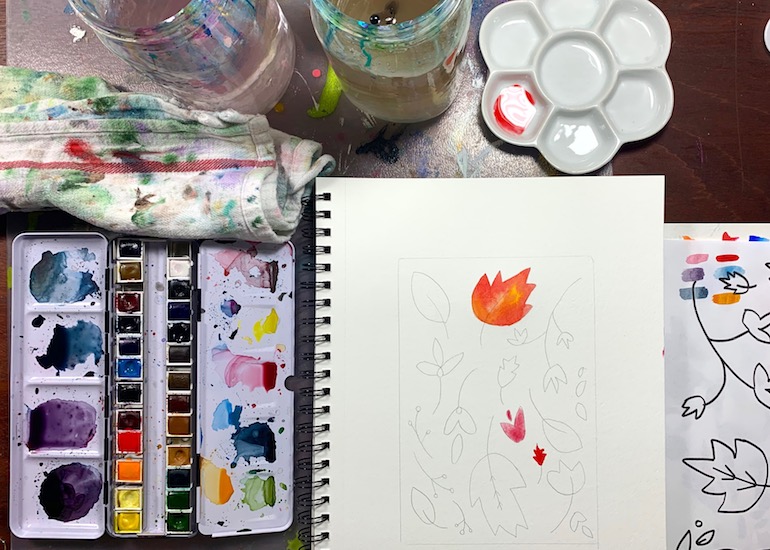
This is just the first layer, so you can make it a light wash. You can use your paint rag to pick up darker colors while they are still wet if you would like to rework something.
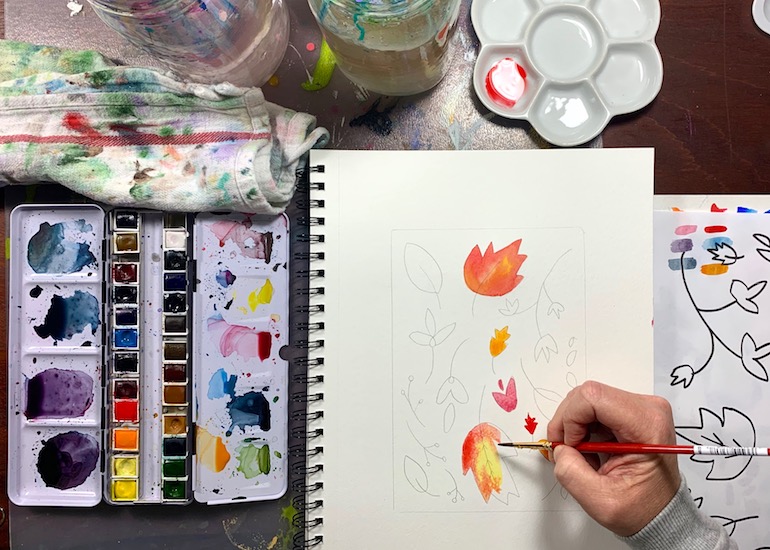
Using the wet in wet technique is a great way to get that splotchy fall leaf like color. This project details the wet in wet technique if you need a refresher.
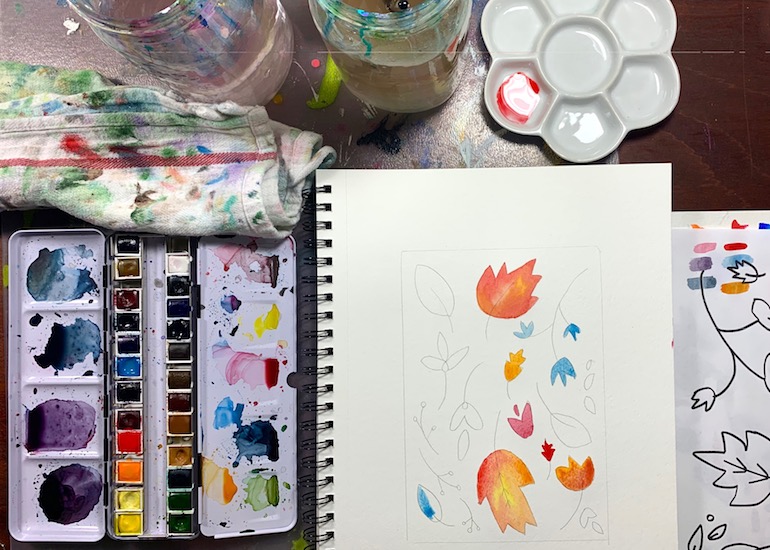
Once you have some large warm color areas blocked in, adding some cool colors will visually balance the composition.
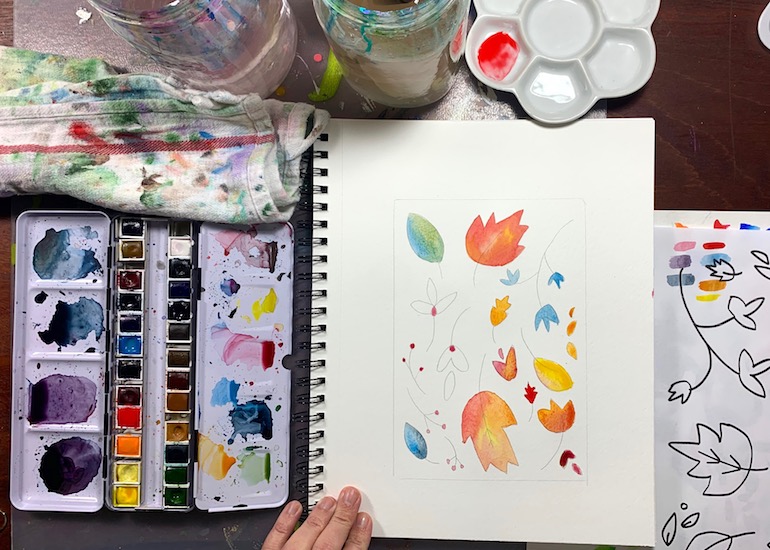
Having several leaves that have a mix of warm and cool is a great idea, too!
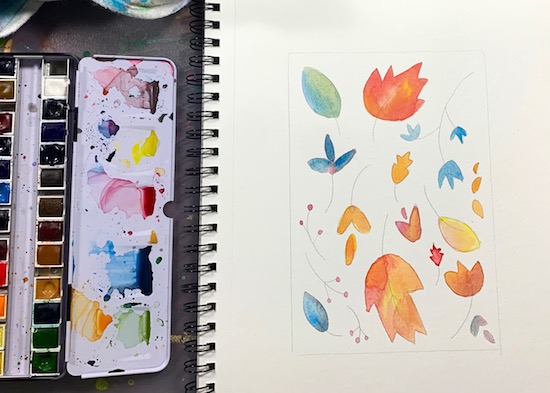
Once your leaves are full of color, let your first layer dry. Many people use a hair dryer to speed this process along, but I usually have several projects going on at once so I just distract myself painting something else while I wait.
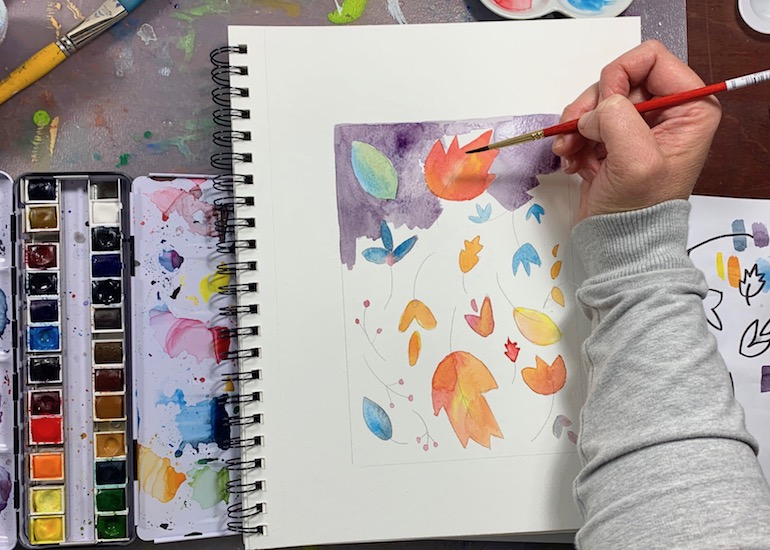
Now that that’s dry, let’s get the background layer done. I used the larger flat brush to do the edges and fill in larger spaces.
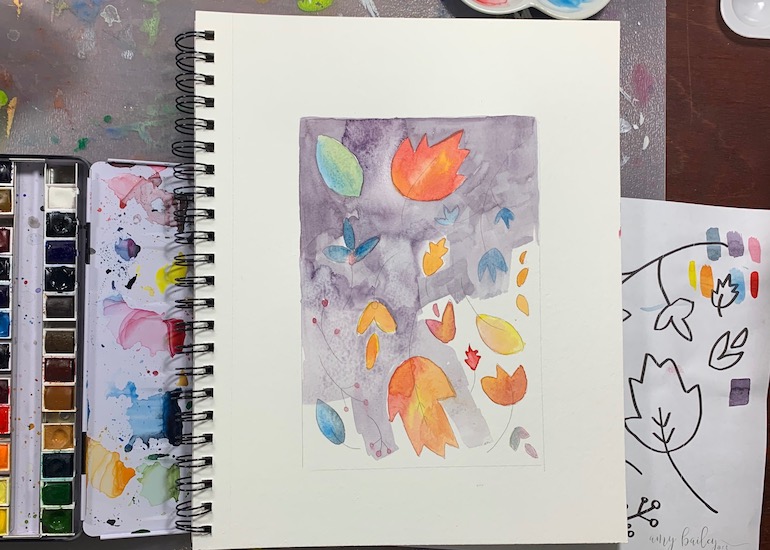
Then I went in with a smaller round brush around the edges of the leaves. Let the background dry. Again, you could use a hair dryer to speed the drying process if you would like.
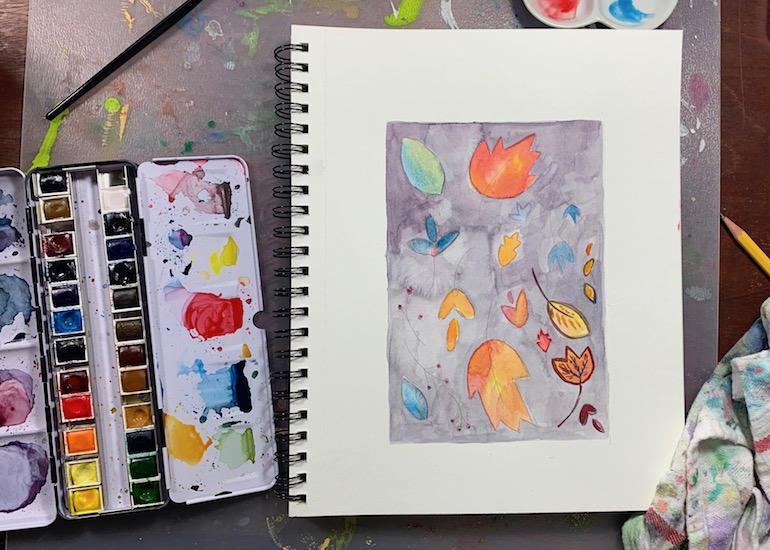
Be sure that the whole painting is dry. Then go in with the smallest round brush and a dark color of your choosing (I mixed some cadmium red medium with a drop of indigo to create a rich dark red) to paint small details.
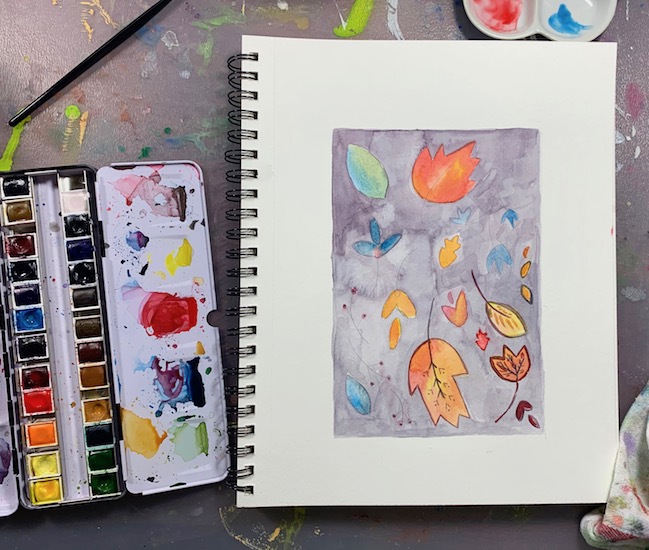
Have fun and be creative with your mark making. Experimenting with different lines and brushstrokes creates texture and interest.
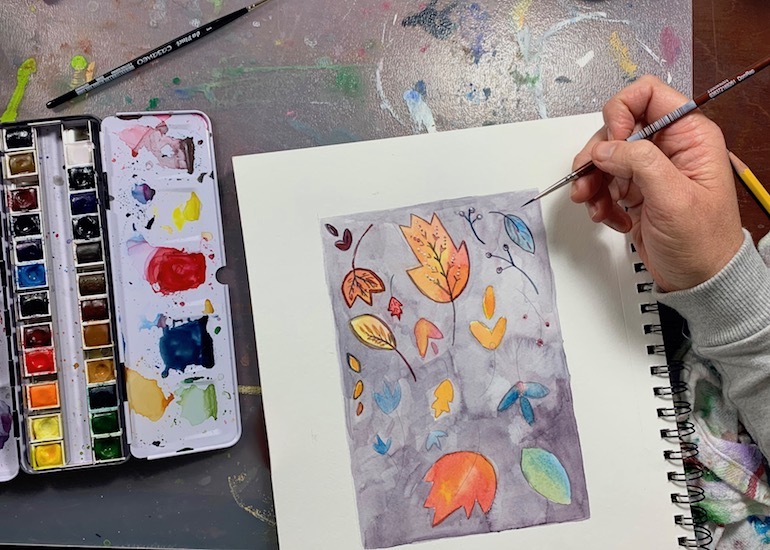
You could also add some light highlights with white. I enjoyed adding subtle little dots on some leaves with the white.
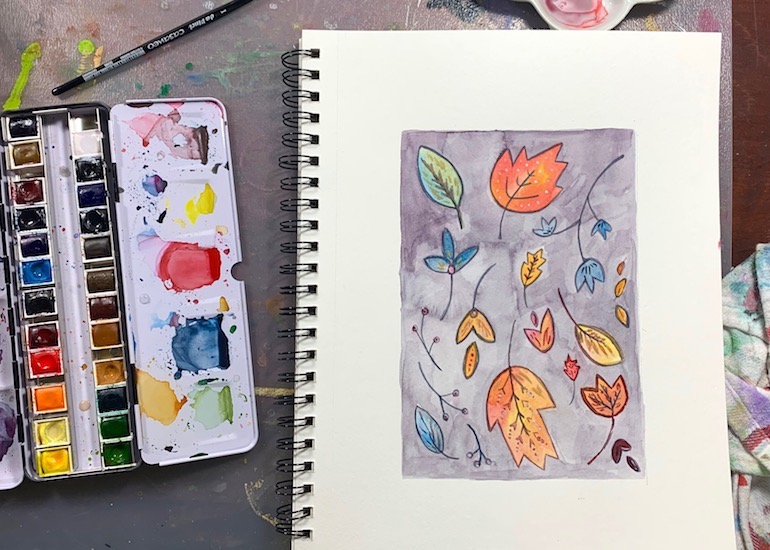
When you are finished, admire your work!
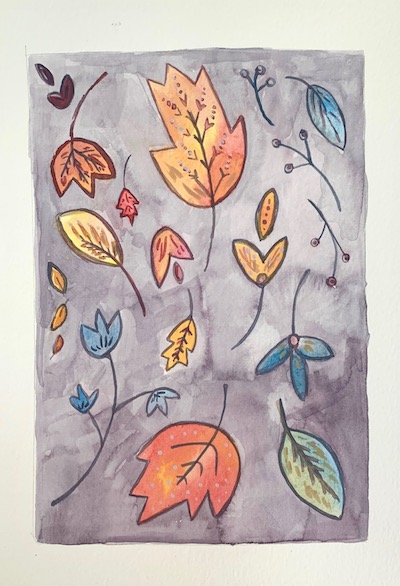
I hope you found this tutorial easy to use and enjoyed some therapeutic watercolor play! I’d LOVE to see YOUR work! Tag me on social media and use the hashtag #amybaileyart or comment below to let me know how it went! As always, thank you for being here!
