In this easy watercolor tutorial, I will show you simple step by steps to master the very fun, free-flowing, beautiful technique of wet on wet, and give you some fun ideas on how to use your masterpieces.
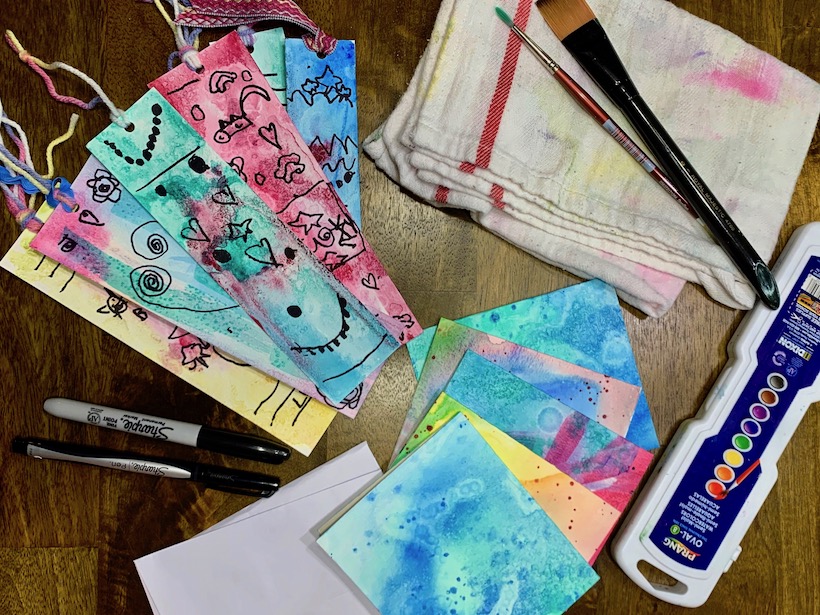
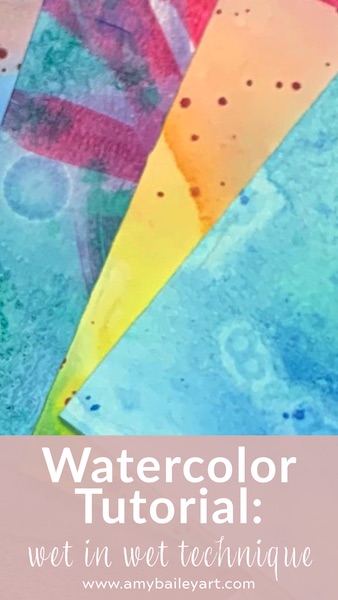
“Wet on wet” (sometimes also referred to as “wet in wet”) means that wet paint is applied to wet paper, or added to a wash of fresh wet paint as demonstrated in this watercolor tutorial.
This activity works well for any age. I encouraged my little one to let go of the outcome/end product and focus on having fun and enjoying the process. Watching the watercolors creep across the wet paper or meld into the colors already on the page is therapeutic and mesmerizing.
Supplies needed for this watercolor tutorial:
- watercolor paints
- watercolor paper
- paint brush (I love the one included in the paint set linked above)
- water
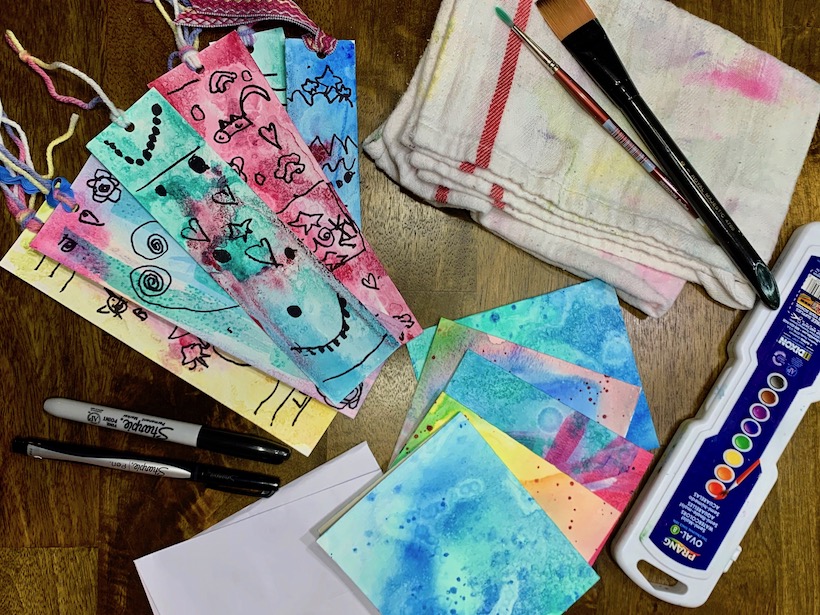
- optional: towel to pick up excess water, sharpie, envelopes, strings and hole punch
- extra fun: we use these blank cards to create fun surprises for friends and family.
- Here’s more supply options: watercolor paper, watercolor paint set, oil pastels, sharpies, watercolor paper cards, hole punch, fun colorful string for bookmarks)
You can find a list of all my favorite art supplies and direct links to the exact supplies I use here.
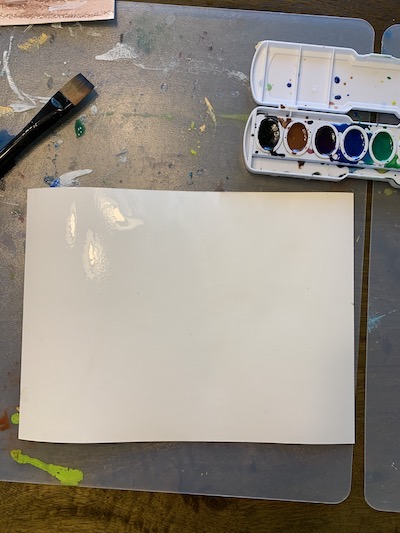
Step 1: Using a clean brush and water, paint the watercolor paper with a light layer of water. We covered the whole paper, but there’s not really a wrong way to do this. The paint will spread easier and quicker the more water you paint, but try to be sure not to let water pool too much. Remember you can always add water or use the towel to pick up water- relax and have fun!
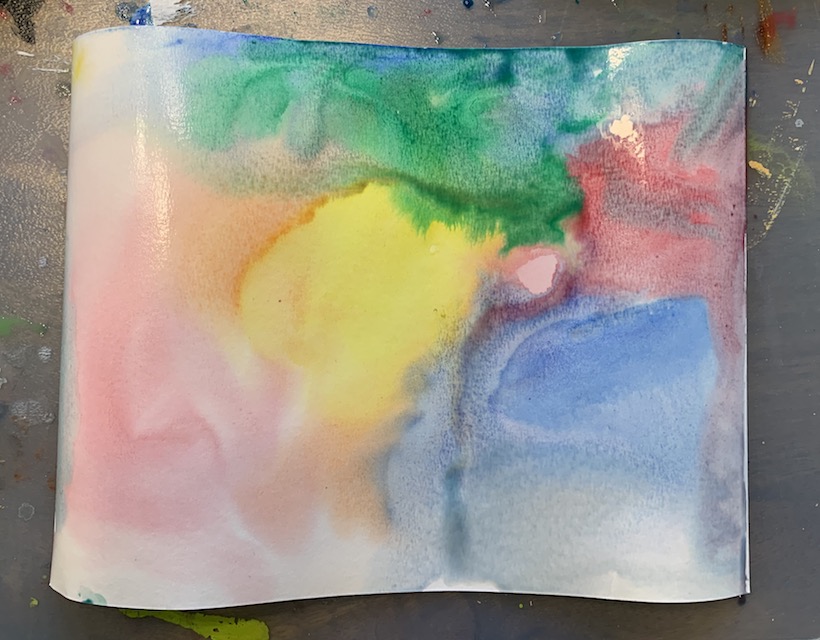
Step 2: Add color! Have fun painting. Add water to create more fluidity and use your towel if it gets too saturated.


Remember to play! No need to follow this watercolor tutorial exact overtime! See what different effects different brushes make, use a water dropper, add some salt, have fun!!! This is also a great opportunity to observe color mixing! (i.e. – what happens when red runs into yellow? Let them find out by experimenting.)

Step 3: Let it dry. (probably goes without saying, but mentioning it jic.)
Step 4: Make some more! My little one made a lot of pages of play using this watercolor tutorial. It put her in the ZONE!
Step 5: Use your artwork from this watercolor tutorial! I like to use this to make notecards or bookmarks to give to friends and family. She really enjoys using a sharpie to draw on top of dry work.
I hope you enjoyed this watercolor play! We’d LOVE to see YOUR projects and creations! Tag me on social media and use the hashtag #amybaileyart or comment below to let me know how it went!
Note: This post may contain some affiliate links and I may be compensated, but all opinions are my own. Any compensation I may receive helps with expenses to keep this blog up and running! Thank you for all your support!

